It is very much like double boxing, except these boxes are free, and it maximizes the size you can ship via Priority without going into the dimentional pricing.
Basically it keeps you from having to buy a box and or having to pay more to ship something that would have fit in a 12x12x12 box
Because, we all know that 12x12x8 is usually a wee too small for some items.
Note that using the FREE Priority supplies in any way, including these boxes, means 1] you must pay for Priority shipping, and 2] you cannot alter a Priority Flat Rate box or envelope in any way.
Keep in mind that a #7 PM box weighs 12 ounces by itself, and this will almost double that. I think it's worth it.
1. Take two boxes, and stack them together with the printing in opposite directions.
My picture show one sticking out so you can see it, but you are going to square them up together.

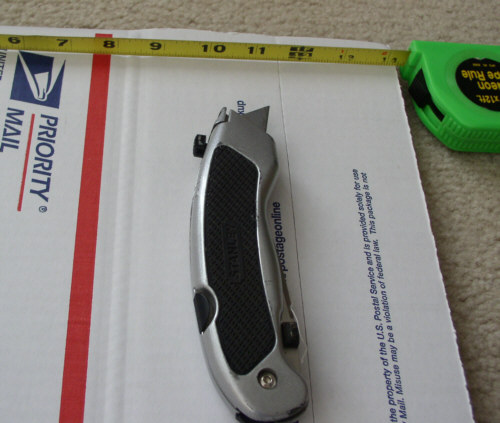
2. Measure 11 1/2" from the fold of the flap, toward the other end of the box, and draw line.

3. Keep boxes square, and cut through all 4 layers.
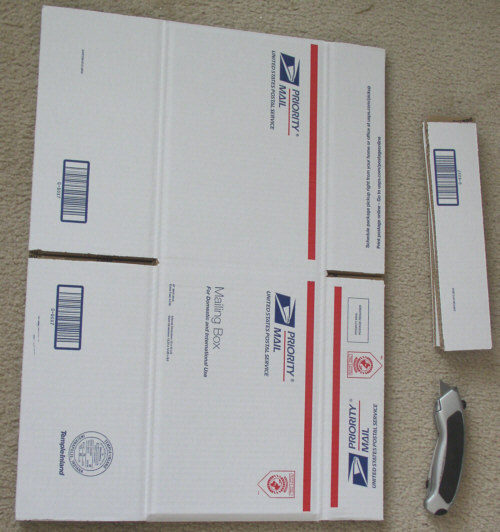
4. Remove the 4 pieces of cardboard.
5. Take the box with the shortened top flaps, and tape up the bottom for shipping.
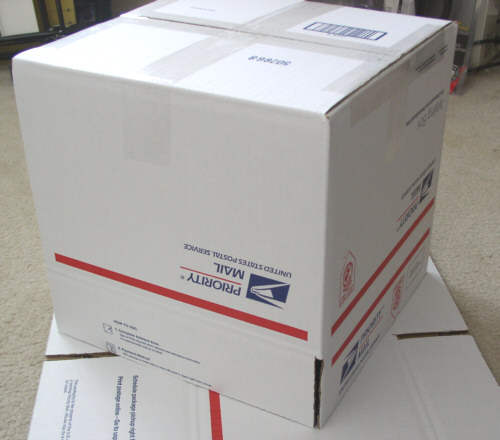
6. Turn it over.
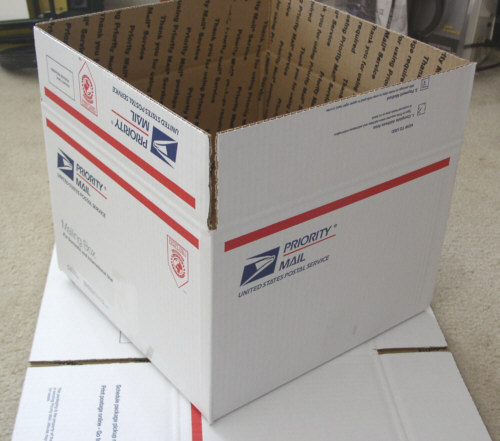
7. Take note of where the box seam is because you want the other box's seem to be at the opposite corner for max protection.

8. Open the other flat box, and carefully work it into the first, making sure the full sized uncut flaps are on the top.
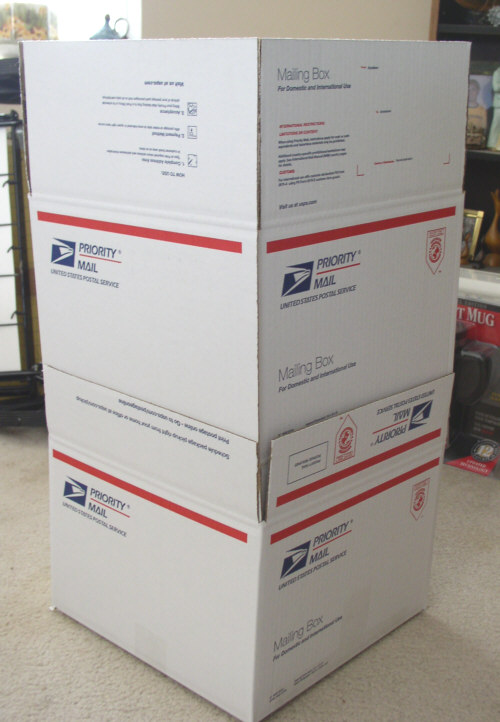
9.Give the corners a light poke, to guide them in.

10. You should end up with this.

11. Pack it up.

12. Tape it up. Be sure to run a piece of tape it all around the top to hold the flaps tight against the box.

Stay tuned for other packing tutorials . . .